How to Make a Marble Texture in 3ds Max?
Creating a realistic marble texture in 3DS Max is a process that involves understanding both the visual qualities of marble and how to manipulate the 3D software’s tools to replicate those qualities. Marble, known for its intricate veining, polished surface, and variety of colors, presents a challenge for 3D artists aiming for high realism. This article will guide you through the process of creating a marble texture in 3ds Max, from understanding the material properties to applying textures and fine-tuning the results.

Understanding the Characteristics of Marble
Before you begin creating a marble texture in 3ds Max, it’s essential to understand what makes marble unique as a material. Marble is a metamorphic rock, typically composed of calcite or dolomite, which gives it its signature sheen and veined pattern. Some common characteristics of marble that you'll need to replicate in 3ds Max include:
1. The Veining
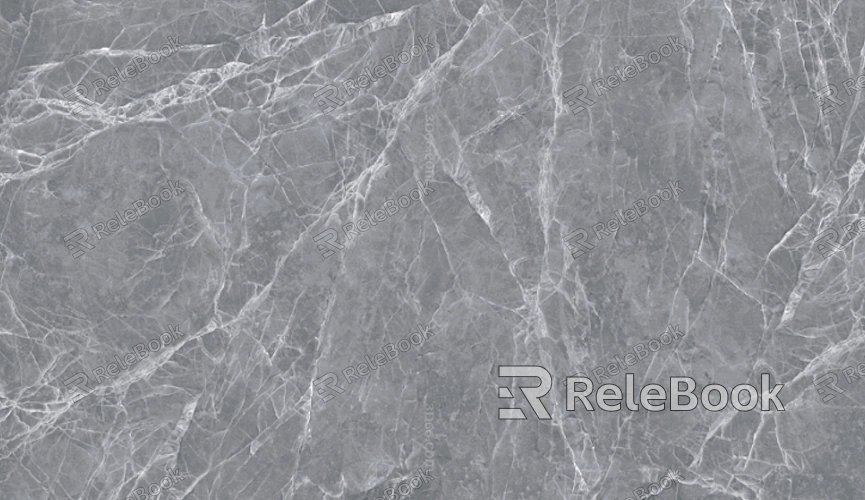
One of the most distinctive features of marble is its veins. These veins are caused by mineral impurities that were present during the rock’s formation. In 3ds Max, the veins can be simulated using noise and turbulence maps. These veins can range from thin, delicate lines to bold, dramatic streaks, depending on the type of marble you are trying to replicate.
2. The Polished Surface
Marble is often polished, giving it a smooth, reflective surface. This is typically achieved in 3ds Max by adjusting the specular and glossiness values in the material editor. A polished marble surface will have high reflectivity, so you'll need to use reflection maps and adjust the material’s glossiness to simulate this shine.
3. The Color and Texture Variations
Marble can come in a variety of colors, from classic white to rich blacks, greens, and even pinks. The color of the marble is usually determined by the presence of different minerals. You’ll need to replicate this variation in color and texture when creating your material in 3ds Max, often using multiple maps, such as diffuse, bump, and reflection maps.

Creating the Base Marble Material
Once you understand the key characteristics of marble, the next step is to create the base material in 3ds Max. This can be achieved using a combination of standard materials, such as the Arnold or V-Ray shaders, depending on the renderer you’re using. We will break down the steps for creating a basic marble texture using the default standard material in 3ds Max.
Step 1: Setting Up the Material
Start by creating a new material. In the Material Editor, select a “Standard” material type. Set the material’s diffuse color to a neutral base, such as white or light gray. This will serve as the base color of your marble.
Step 2: Adding Veins with a Noise Map
To create the veins in your marble texture, use a noise map. The Noise Map will allow you to add random, organic patterns that resemble the veining in marble. Set the noise map to a low scale (around 2 or 3) for subtle veins. You can then adjust the amount and turbulence settings to add more complexity to the veins. You may also want to adjust the map channel to ensure the veins wrap properly across your object.
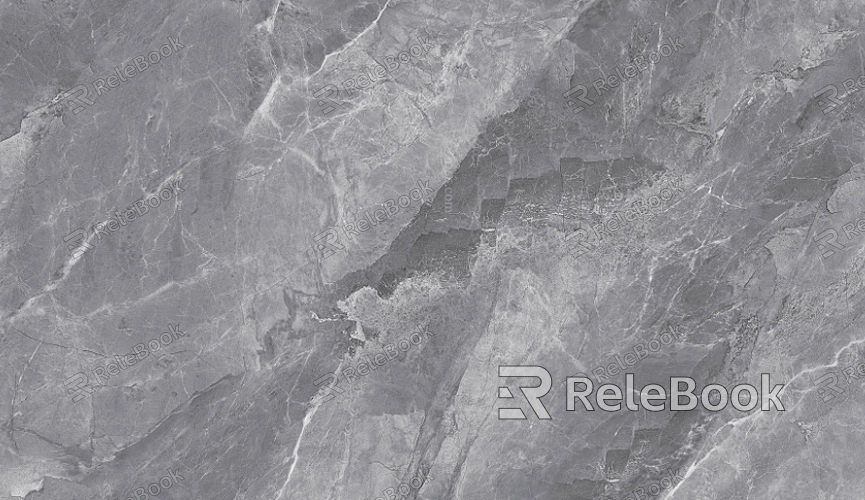
You can also experiment with gradient maps or bitmap textures if you want more control over the veins and their color. Using a photograph of real marble as a base texture can give you a more realistic result.
Step 3: Applying the Bump Map
A marble texture is often bumpy, especially if the surface is rough or uneven. To simulate this, use a bump map. Link your Noise Map (or any custom texture you’ve created) to the Bump Map slot. Adjust the bump amount to control the depth of the texture. A bump value of 0.5 to 1.0 usually works well for marble. You may also use a displacement map for more detailed texture, but be cautious, as this can increase render time.
Step 4: Reflectivity and Specularity
To replicate the polished surface of marble, adjust the specular and glossiness settings. For polished marble, set the specular level to around 80-100 and the glossiness to 50-75 for a shiny, reflective surface. This will give the marble a smooth, wet look. You can also add a reflection map or use an environment map to enhance the realism of the reflection.
Adding Color Variations
While the base color for marble might be white or gray, marble often has subtle variations in color and texture. These variations can be achieved using a combination of techniques, such as adding additional texture maps, adjusting the reflectivity, and using procedural noise to create random shifts in color.
Step 1: Using a Color Map for Variety
If you’re working with a specific type of marble, you may want to create or source a color map that contains the specific hues and patterns you want to replicate. The Color Map can be used in the Diffuse slot of the material editor to add texture and color variation across the surface.
Step 2: Creating Subtle Color Shifts
In addition to the color map, you can introduce subtle color shifts in the marble. For example, if your marble has a slight yellow or brown hue, use a falloff map or a gradient ramp to subtly blend these colors into the surface. You can layer these color shifts on top of the base marble material for a more organic, realistic effect.
Step 3: Layering with Additional Maps
Marble is rarely uniform in color, so consider adding multiple maps to layer different effects. A specular map can add variation to the reflective qualities, and a reflection map can help simulate the way light bounces off different parts of the surface. By layering these maps, you can create a more complex and realistic texture.
Fine-Tuning the Marble Texture
After creating the base marble material, there are several additional steps you can take to fine-tune the texture and make it even more realistic.
Step 1: Adjusting the Scale and Mapping
If you’re using a bitmap texture for your marble, you may need to adjust the UV mapping to ensure the texture is applied correctly to your object. Scaling the texture properly will help avoid repeating patterns and create a more natural look. If the object is large, you might need to use a Tiling Map to prevent the texture from becoming too stretched.
Step 2: Adding Roughness for Realism
Although marble is polished, it can have subtle imperfections. To simulate this, you can use a roughness map to add slight imperfections in the reflectivity. This is especially important for marble with a matte or aged look. A small amount of roughness will break up the perfect mirror-like reflections and make the surface feel more natural.
Step 3: Lighting and Environment Considerations
The way your marble texture reacts to light is crucial for its realism. Consider the lighting environment in 3ds Max, as this will affect how the reflectivity and glossiness of the marble appear. Use HDRI lighting or place light sources strategically in your scene to simulate realistic lighting conditions. Make sure the light interacts with the reflections, creating realistic highlights and reflections on the marble surface.
Optimizing the Marble Texture for Performance
While creating a detailed marble texture is important, it’s also essential to optimize your materials for rendering performance. Large, high-resolution textures can significantly slow down rendering times. Consider using lower-resolution textures for smaller objects or areas that are not in the foreground. You can also reduce the complexity of the bump maps or specular maps to improve performance.
Creating a marble texture in 3ds Max involves a combination of understanding the material’s characteristics and using the software’s powerful tools to simulate those qualities. By adjusting key properties like color, bump, reflectivity, and glossiness, you can craft highly realistic marble textures that are ideal for various 3D projects. With careful attention to detail and fine-tuning, you’ll be able to replicate the beauty and complexity of marble surfaces. For those looking to enhance their designs with ready-made 3D assets, be sure to explore Relebook’s wide selection of 3D models and textures to streamline your workflow.
FAQ
Can I use real photos of marble in 3ds Max?
Yes, you can use photographs of marble as textures. These can be applied as bitmap textures in the Diffuse slot, and you can modify them in Photoshop or other image-editing software to fit the scale and color of your project.
How do I get a glossy marble finish?
To achieve a glossy finish, adjust the specular and glossiness settings in your material. A higher glossiness value will make the surface more reflective, mimicking the polished nature of marble.
My marble texture looks too flat; how can I add more depth?
You can add depth to your marble texture by using bump maps or displacement maps. These maps simulate the microscopic surface detail, making your marble look more realistic and giving it more dimension.

